First, to whoever is reading this: I hope this finds you safe, healthy, and (relatively) happy. While this is very far from the first thing on folks’ minds, I’ve received a lot of feedback on my online teaching setup and online teaching strategy, and thought I should share my ongoing process of adapting to an online environment. I’m lucky to have some experience teaching online as one of the faculty leads for the Kennedy School’s Public Leadership Credential. In addition, I’m a big advocate of blended learning both in my residential courses and in my work training policymakers abroad. Much of this work is a combination of synchronous and asynchronous content. For now, I’ll be focusing these posts on delivering content synchronously using Zoom. This first post will be about my tech setup when teaching online, and tips to ensure that it goes smoothly. Subsequent posts will be about pedagogical choices, but I thought it better to break them up rather than publishing an online novel.
My online teaching setup at home
Here’s an image of my current setup:
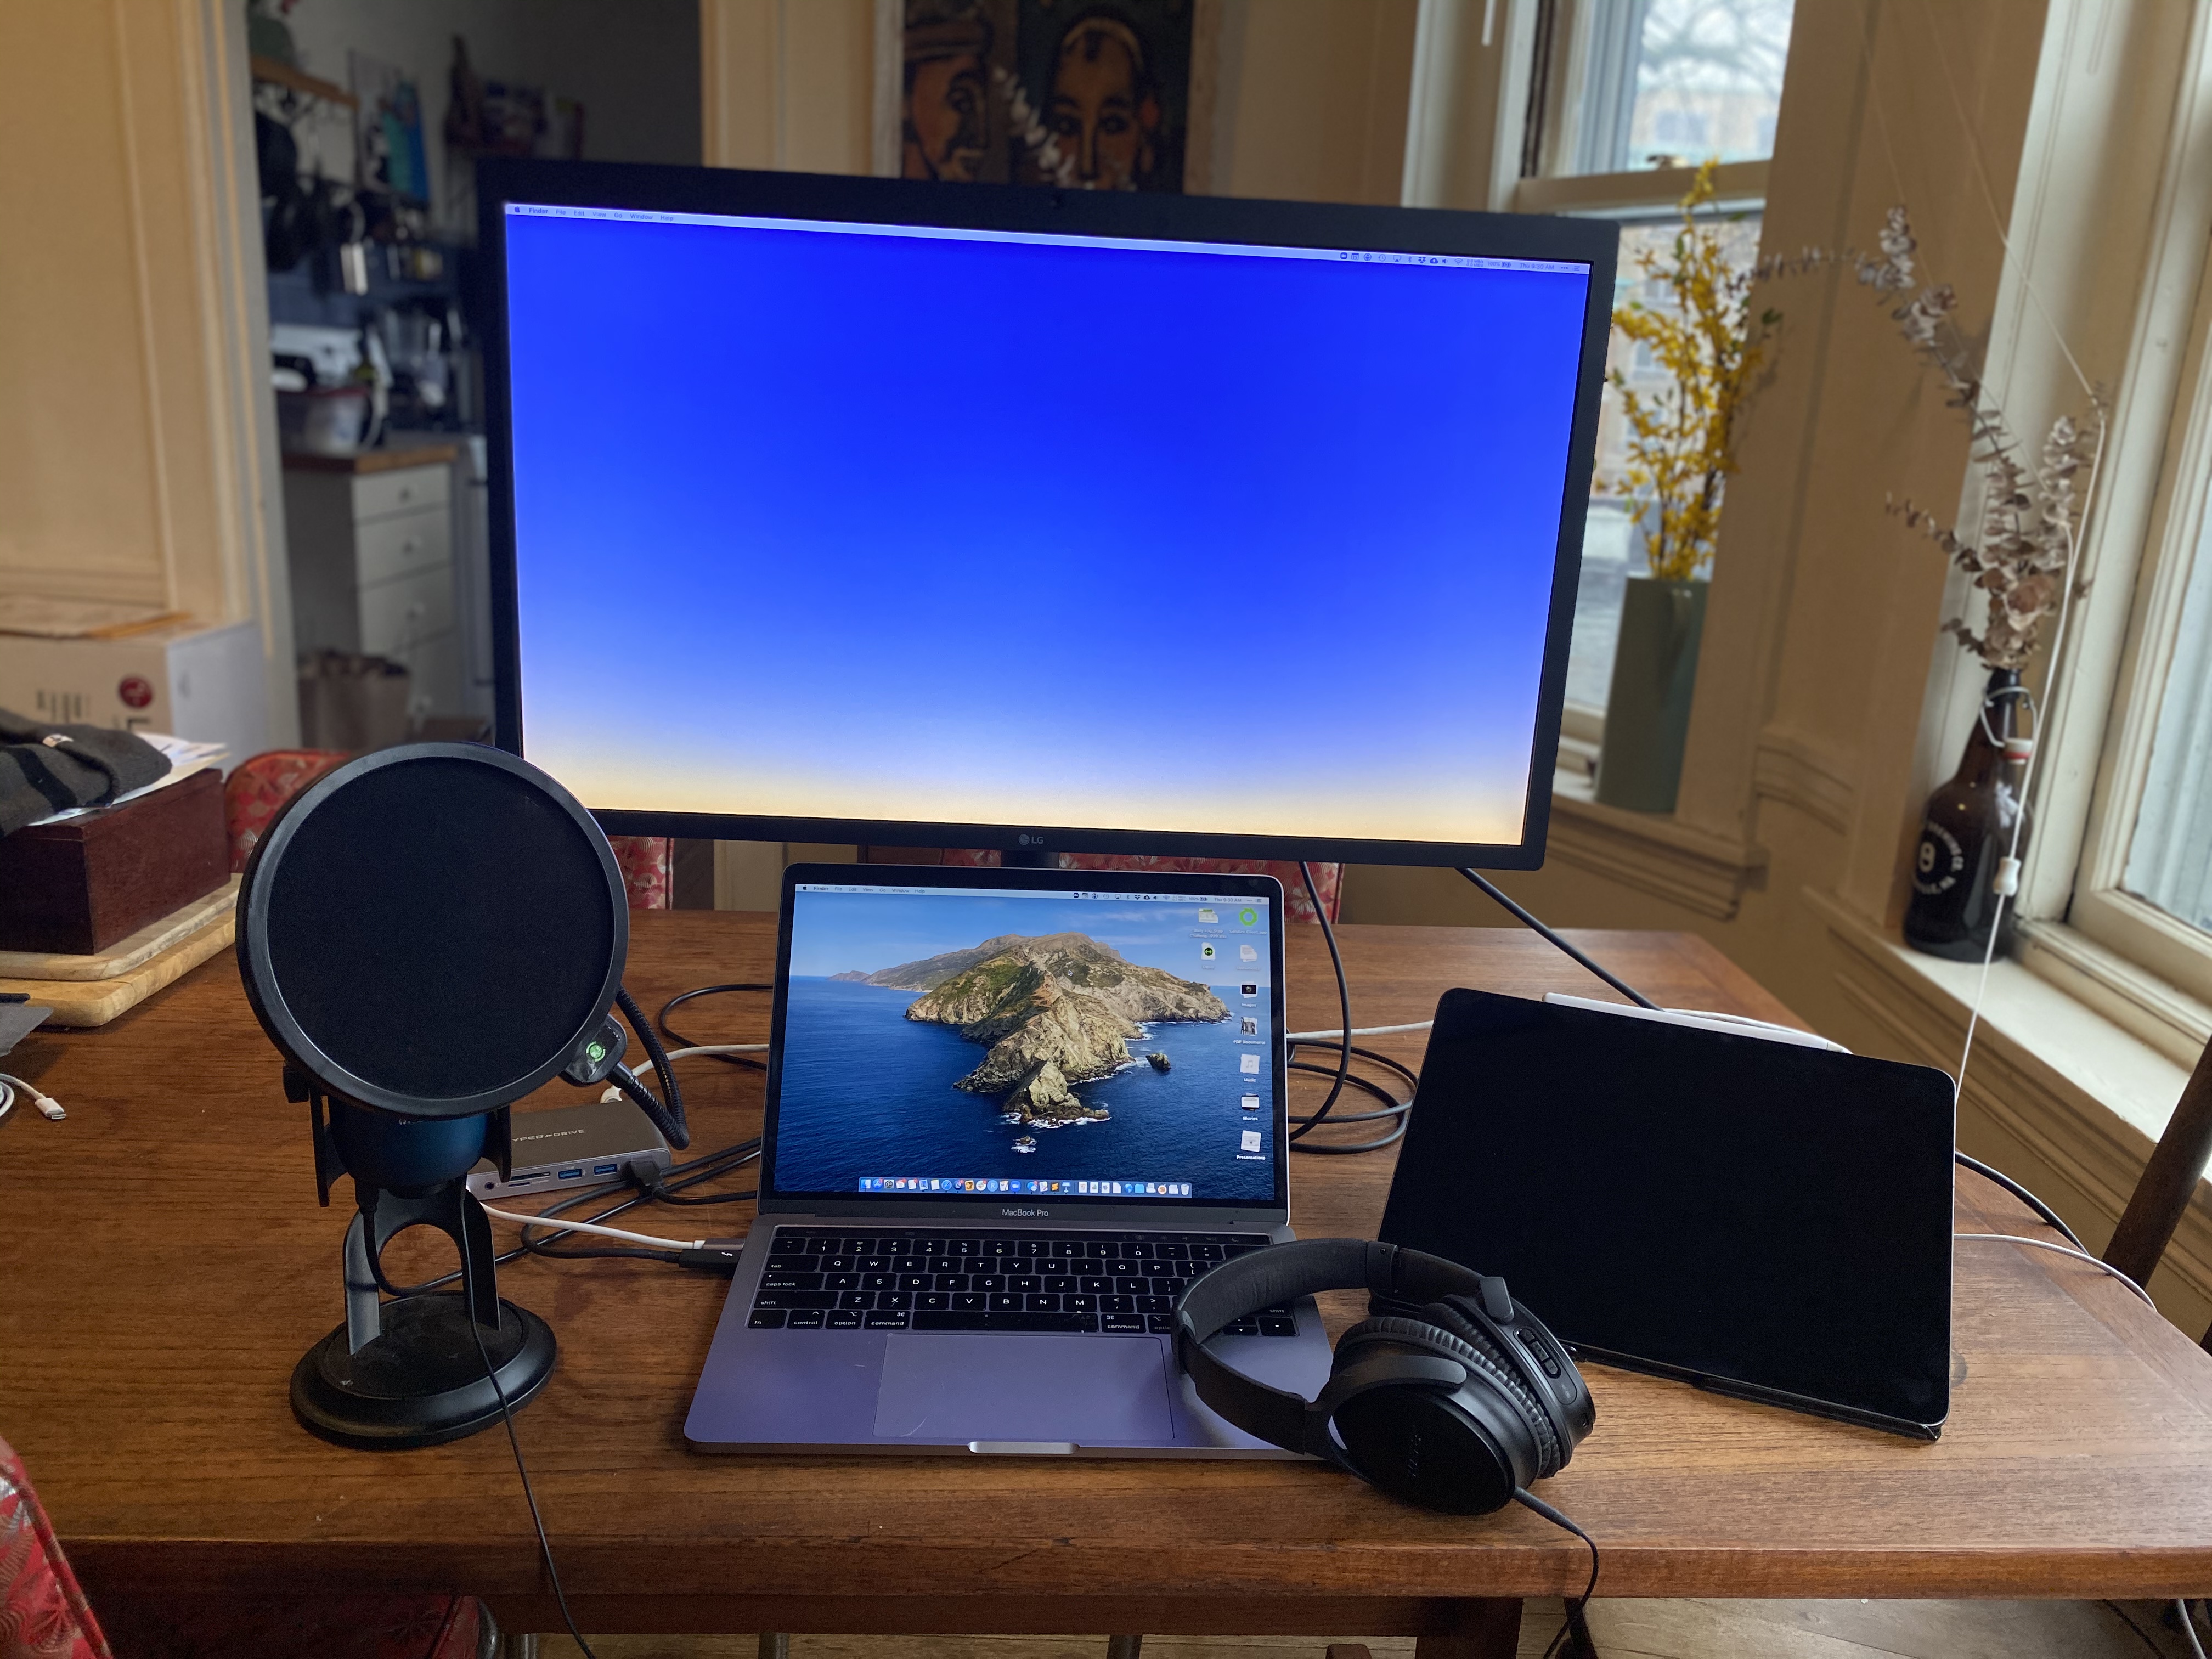
And here are the details (with lots of links), and why I think they’re important:
- Ethernet: None of your teaching matters if students can’t see or hear it. Having a stable internet connection is absolutely critical. WiFi can work, but make absolutely sure you have a good connection where you’re sitting. I prefer physically wiring my computer via Ethernet.
- Two monitors: I connect my laptop to my LG UltraFine display and keep both of them on. For my purposes this is vastly better than a a single screen, simply because there’s a lot going on during a Zoom session: I’m sharing a presentation, I’m looking at my students’ video feeds, I’m monitoring the Participants list for raised hands, and I’m checking in on the chat (I know, this is a lot. More on this in a subsequent post). Luckily, Zoom has a dual monitor mode that lets you make use of both screens to display all of this. I like to keep my shared screen on the smaller laptop screen, and students’ faces/raised hands/chat front and center on the large screen.
- An iPad: If you’ve read this site before, you know that I really enjoy teaching and recording from my iPad. This is especially true when teaching online. In addition to the annotation capabilities of the iPad, projecting from my iPad instead of sharing a presentation from my computer allows me to keep the shared screen in Zoom confined to a single window; otherwise apps like Keynote or PowerPoint will take over both screens to show you a presenter view. To project I use Zoom’s iOS Screen Sharing function. You can either connect the iPad physically to your computer (easier, more stable) or Airplay to it (more finicky, but lets you keep a “Presenter View” on your iPad while projecting the presentation to students). I tend to use Airplay since I like using Keynote’s presenter capabilities without students seeing them.1
- Headphones: I cannot stress this enough: use headphones. If you use your computer speakers, there’s the risk of a feedback loop where your voice comes out of the speakers and back into the microphone ad infinitum. Zoom and other applications try to prevent this via software, but you’re better off removing this possibility.
- Microphone: Your laptop microphone is probably fine (though you should check to make sure that it is). That said, if you happen to have an external microphone it can really help your audio quality which students will appreciate. I use a Blue Yeti which I have mixed feelings about, but which gets the job done.
- Webcam: Your computer’s built-in one is fine, but I’m putting this here to stress that you should look into the camera as much as possible when teaching (this can be easy to forget when you have a laptop, since the webcam is below eye level. You’ll naturally want to look at your content or somewhere else, but the last thing your students want is to stare at your chin for 75 minutes.
- Lighting: The general advice is to not have bright lights behind you, and to instead keep a consistent light source in front of you (behind your monitor). Experiment with different positions and see how they look.
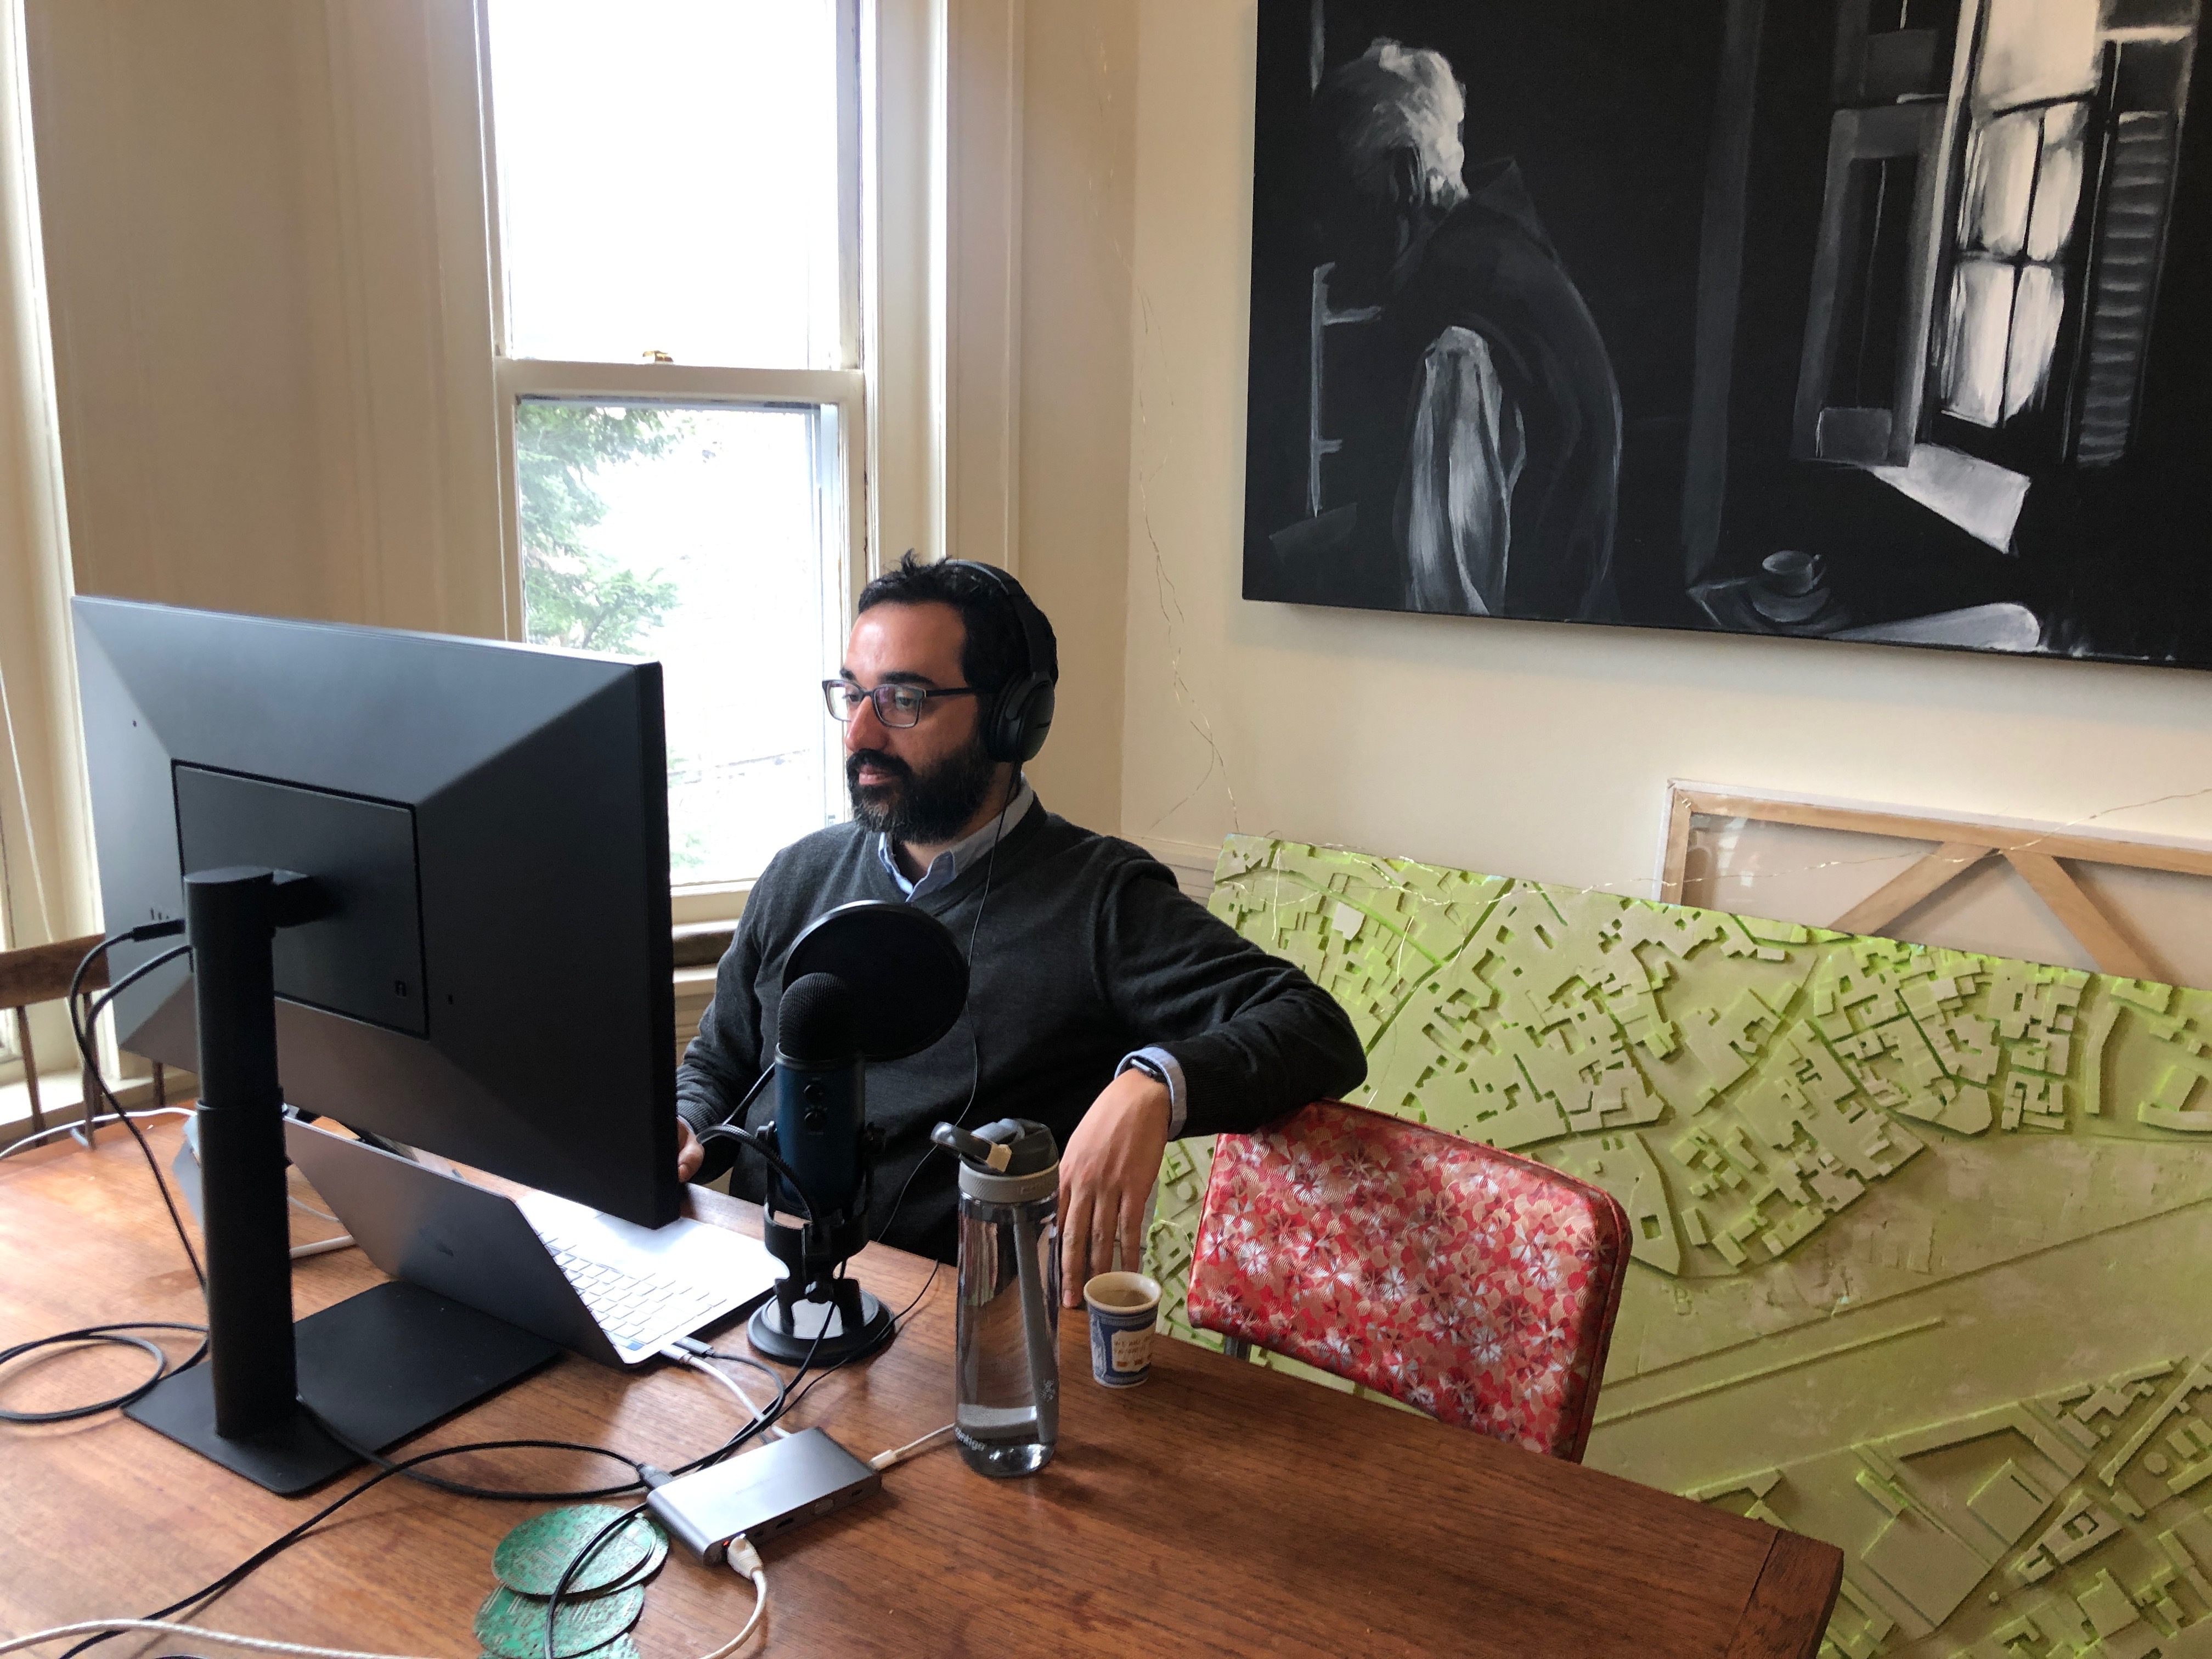
Of course, don’t forget your water and espresso:
Phew! That’s enough for today. Please let me know in the comments if you have any suggestions. My next post will be about my thinking with respect to running online sessions. Stay safe!
-
Note that you could also use an iPhone or other device as a secondary remote control for your presentation, but I digress. ↩