A significant part of my pedagogical approach involves the creation of short, animated videos that convey statistical concepts. Students watch these videos and answer a few quiz questions, which I can then use to make better use of the time we have in class together.
Initially, I would record these videos using Keynote on my Mac, edit them on my Mac, and post them online on my Mac. Over the past year or two, I’ve shifted the entire process onto my iPad - recording with an external mic, editing it in its entirety, and uploading it using Safari. I’m documenting that process in this post for my future self and for anyone else that is interested in doing this too.
Recording
Video
Recording a Keynote presentation has become possible since iOS 11 introduced screen recording to Control Center. Now, I can tap record, go through a Keynote presentation, write on slides as I go1, and end up with a high quality recording of my presentation.
One thing to keep in mind is that I always use presentations with a 16:9 (widescreen) aspect ratio. This way the annotation tools don’t show up on the presentation as I go, and when I export the final video in widescreen all the UI is hidden from the viewer (more on that later).
Audio
iOS’ screen recording feature also allow you to keep the microphone on while recording, so that you can narrate over your slides. However, if you’re in a noisy environment or have a very hot mic (I’m looking at you, Blue Yeti), you might want to add a noise gate and some gain control. Luckily, if you use an app that can send your mic input through your headphones while in the background, iOS screen recording will pick up the processed audio!
I use GarageBand for this. It’s free, it’s reliable, and it integrates with third party apps.
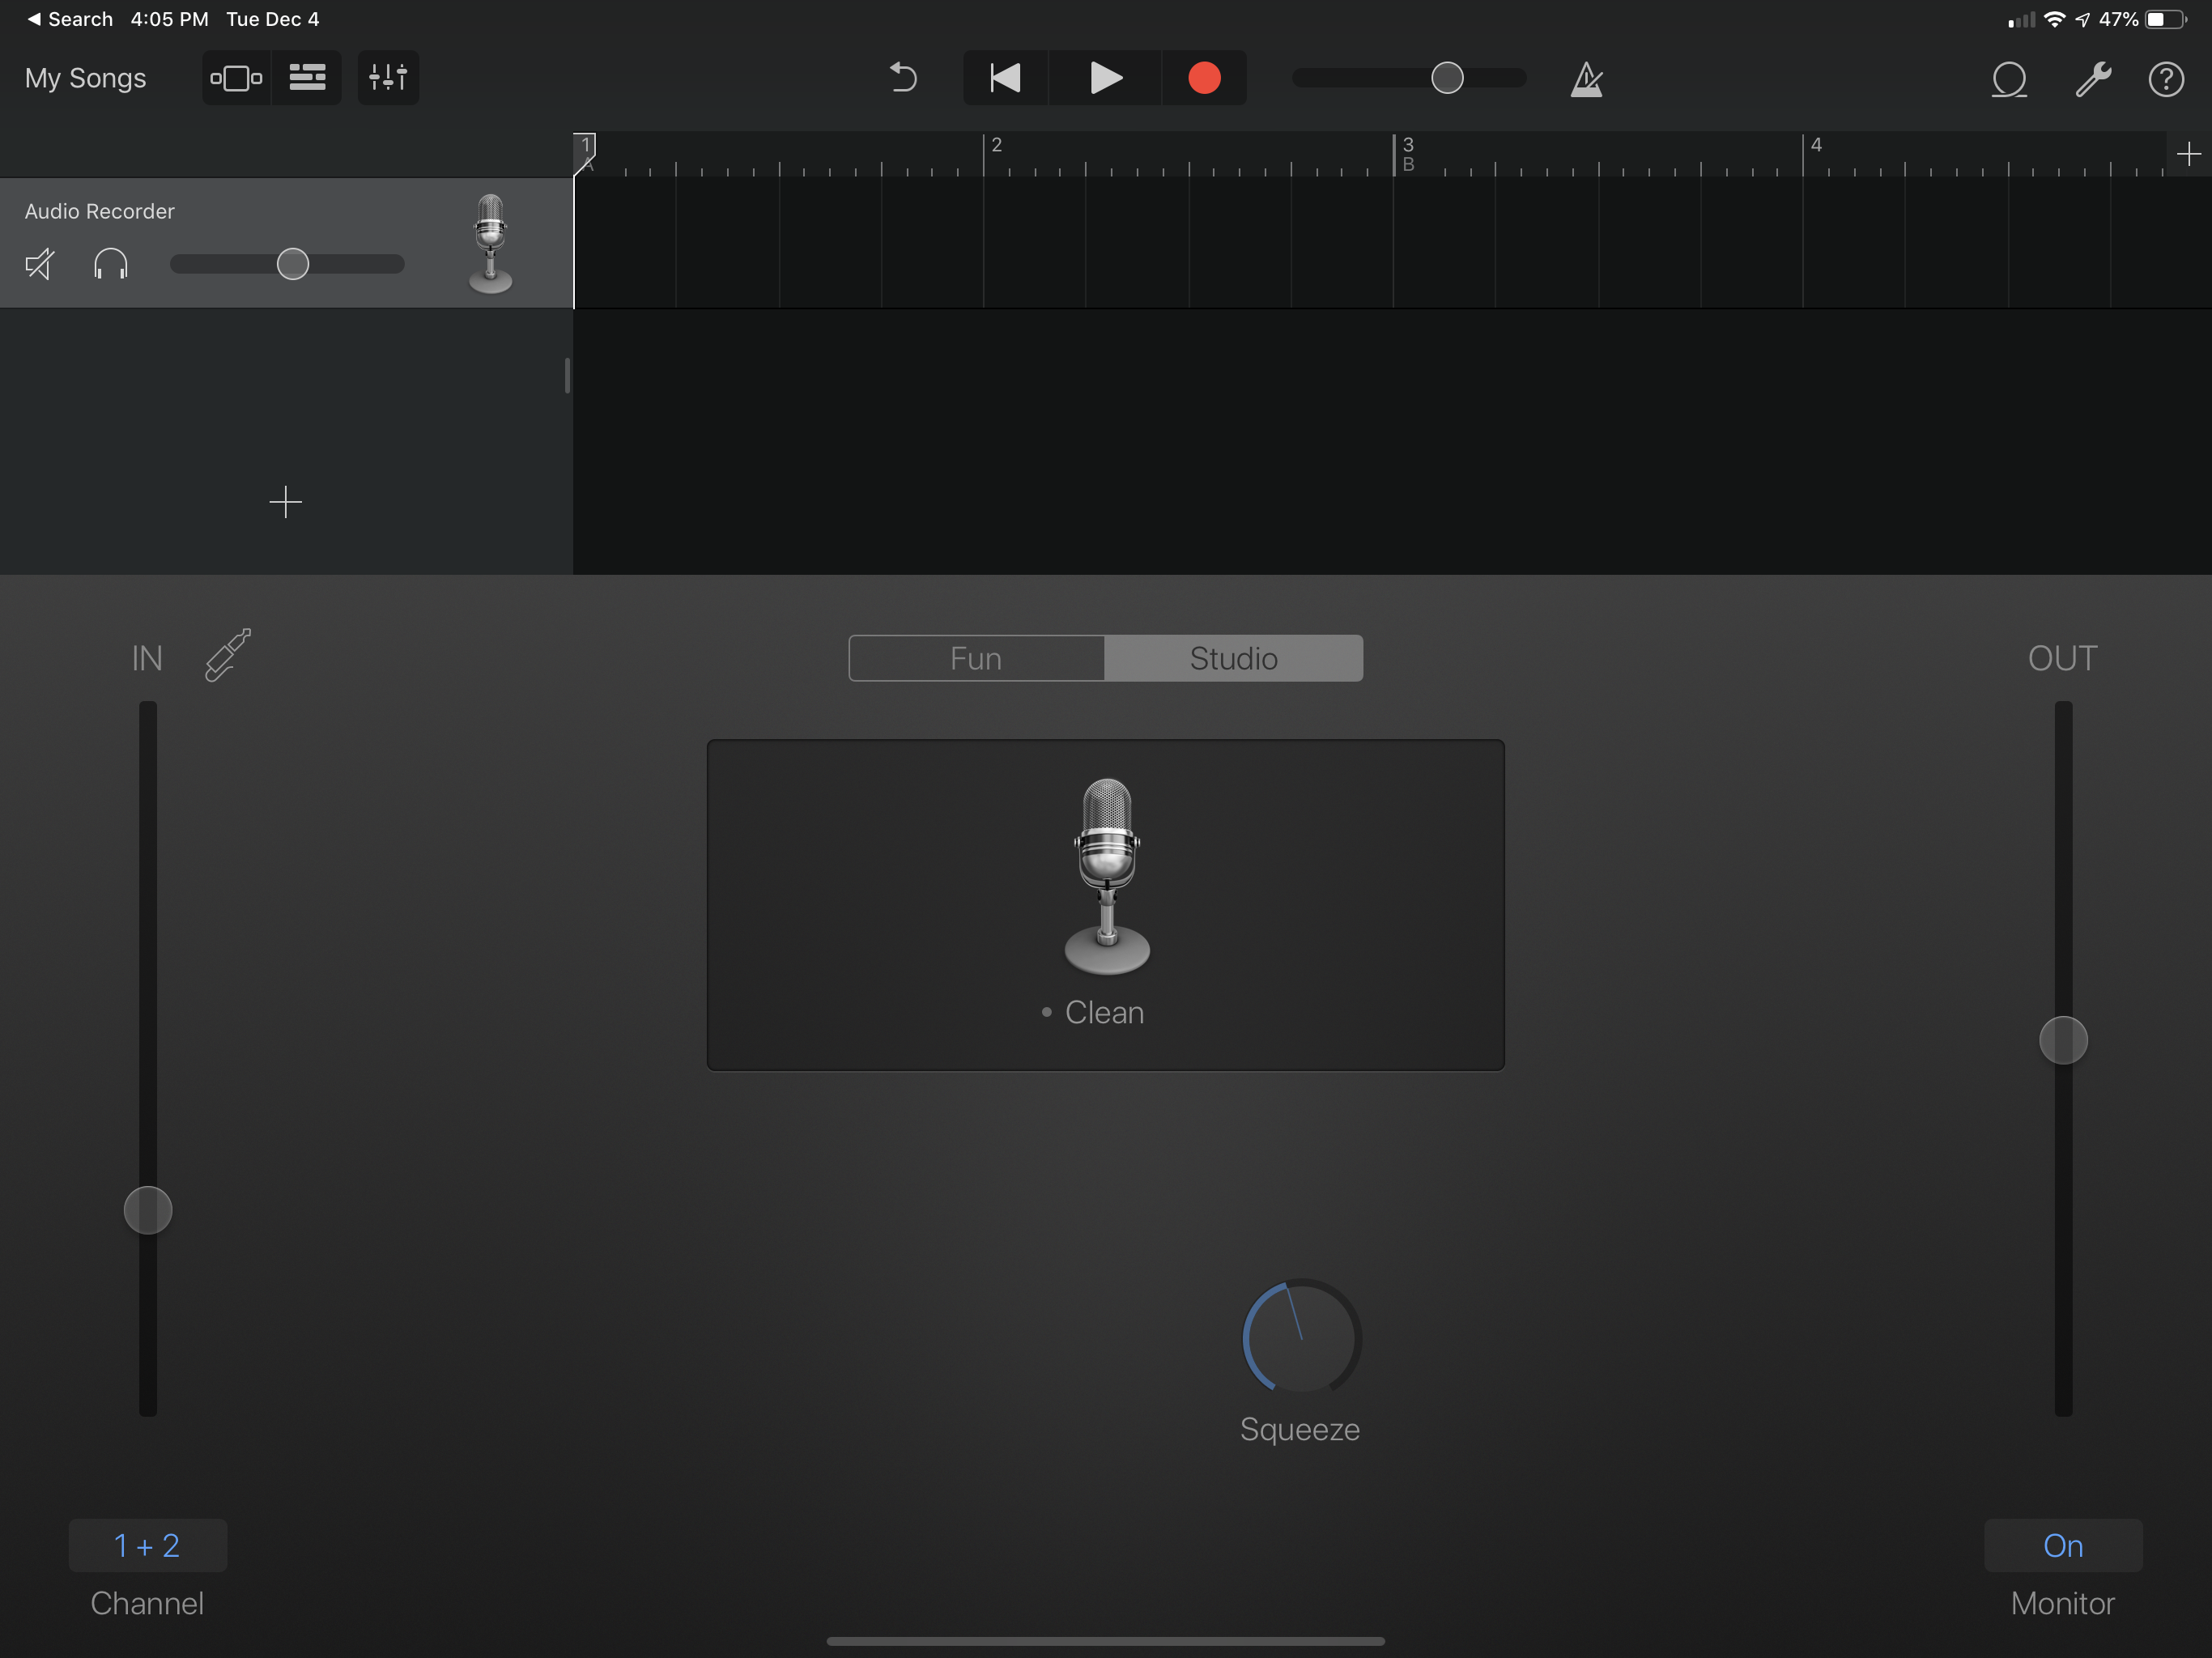
Here’s what my GarageBand file looks like. It’s a single, flat audio track taking in my mic input and feeding it through the monitor (which is set to on). You’ll notice that I keep the gain level pretty low on the left.
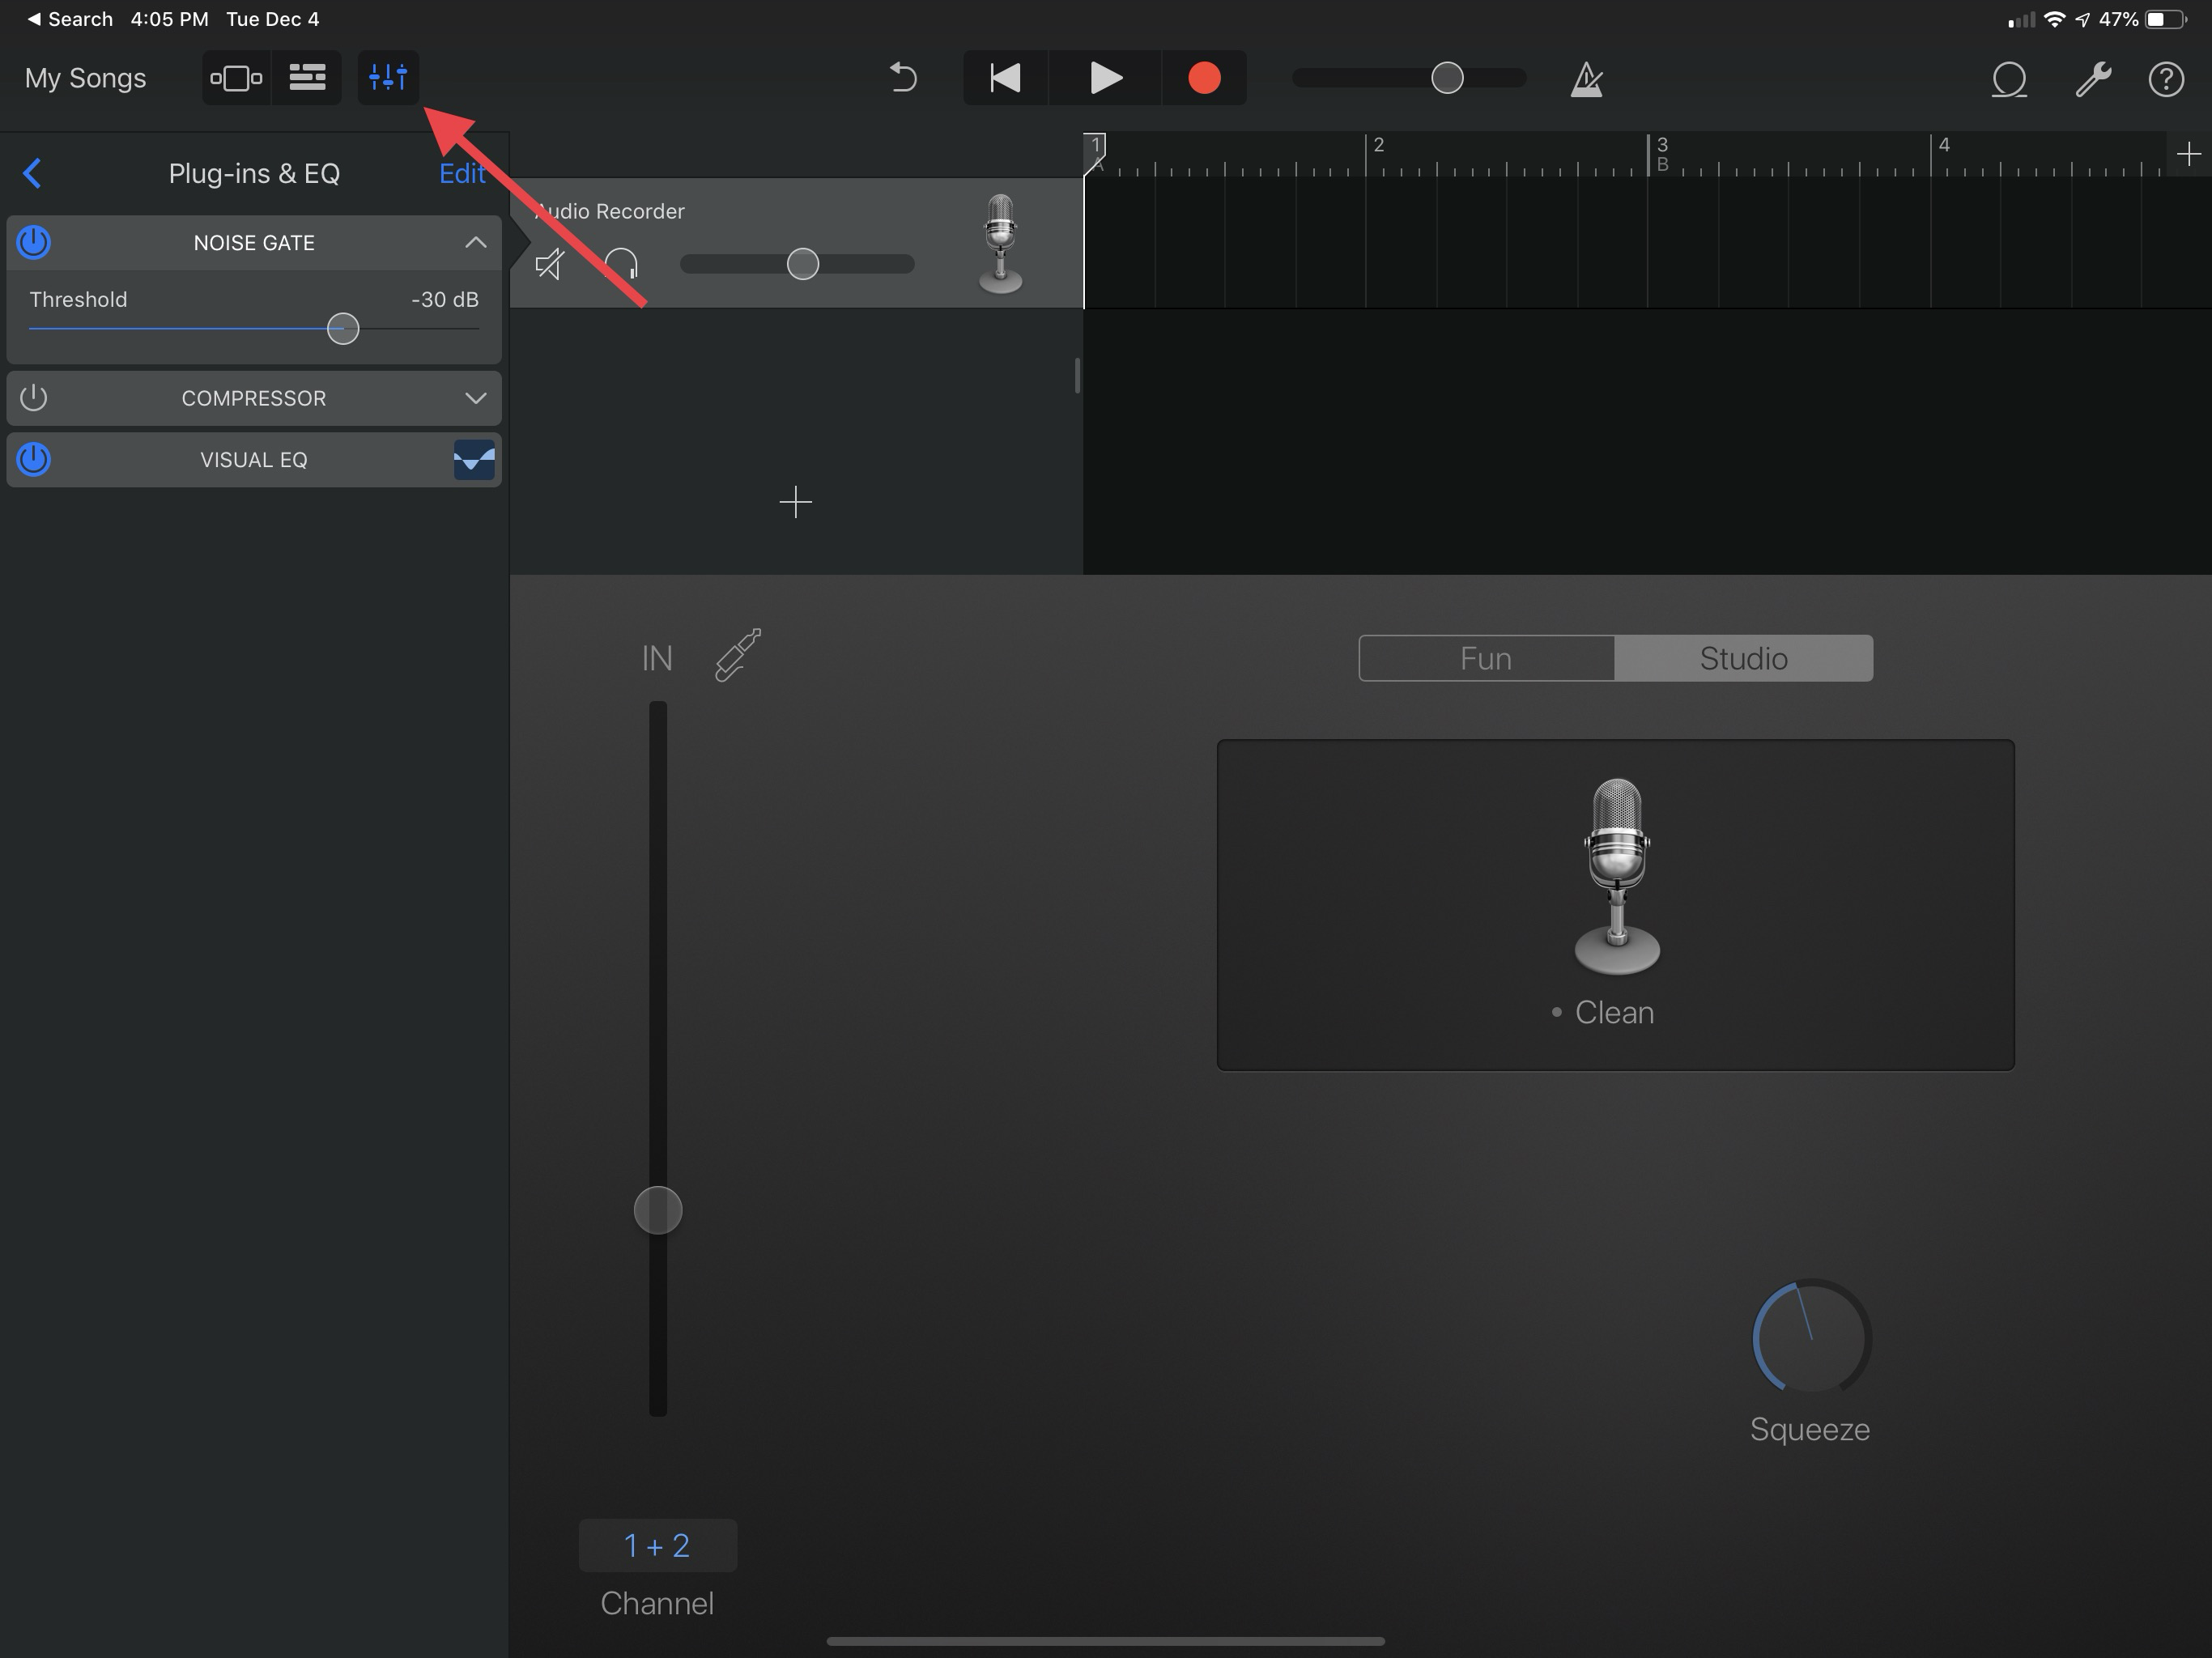
Now for the fun part. If you tap the track control buttons on the top left and tap “Plug-ins & EQ”, you can add a noise gate, change the EQ, or utilize any number of third party effects.
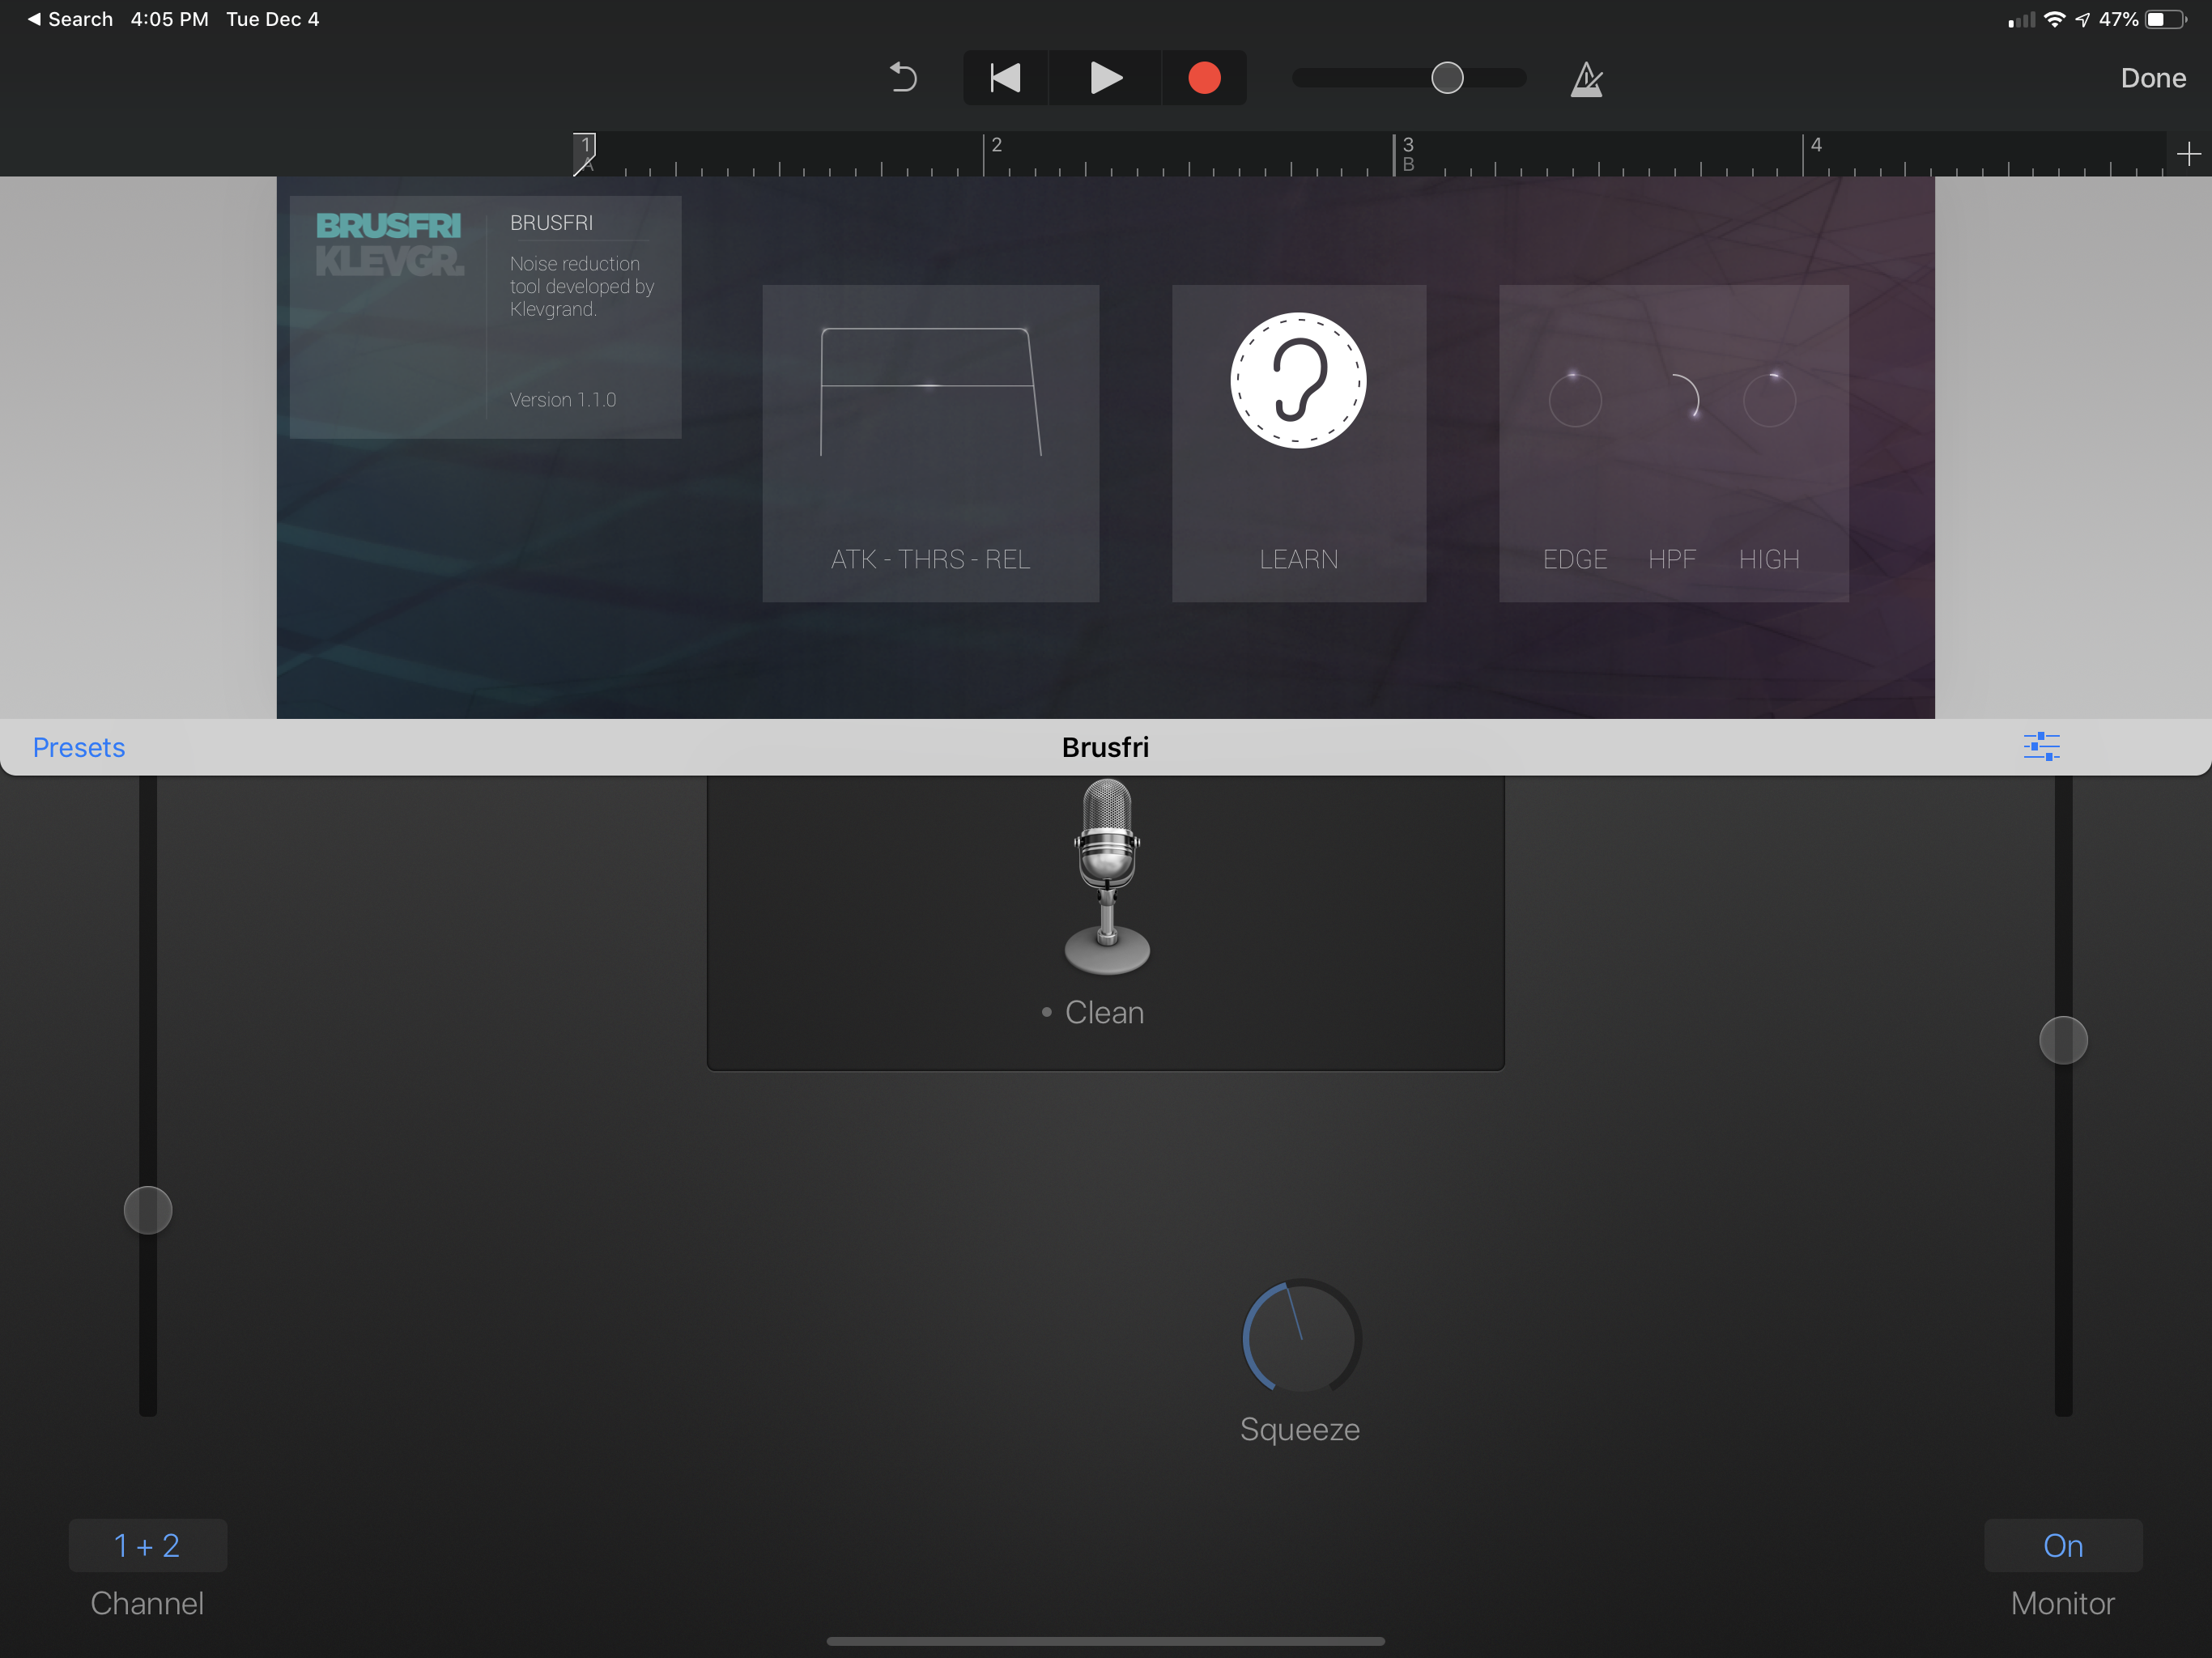
One app I highly recommend is Brusfri. Once you record a few seconds of silence, you can let Brusfri listen to your recording and filter out background noise for when you record your video.
Editing
Video
Once your recording is complete, it’s time to edit.
Editing video on the iPad has become pretty easy since the introduction of LumaFusion. To begin with, LumaFusion allows you to create a video in the 16:9 aspect ratio, which immediately gets rid of all UI elements from my video (if you want to use a simpler solution like iMovie, I suggest Video Crop as an inexpensive app that will impose the aspect ratio that you need). Once your video is in LumaFusion, the world’s your oyster. You can create crossfades, add titles, or do whatever chopping and screwing your heart desires.
Audio
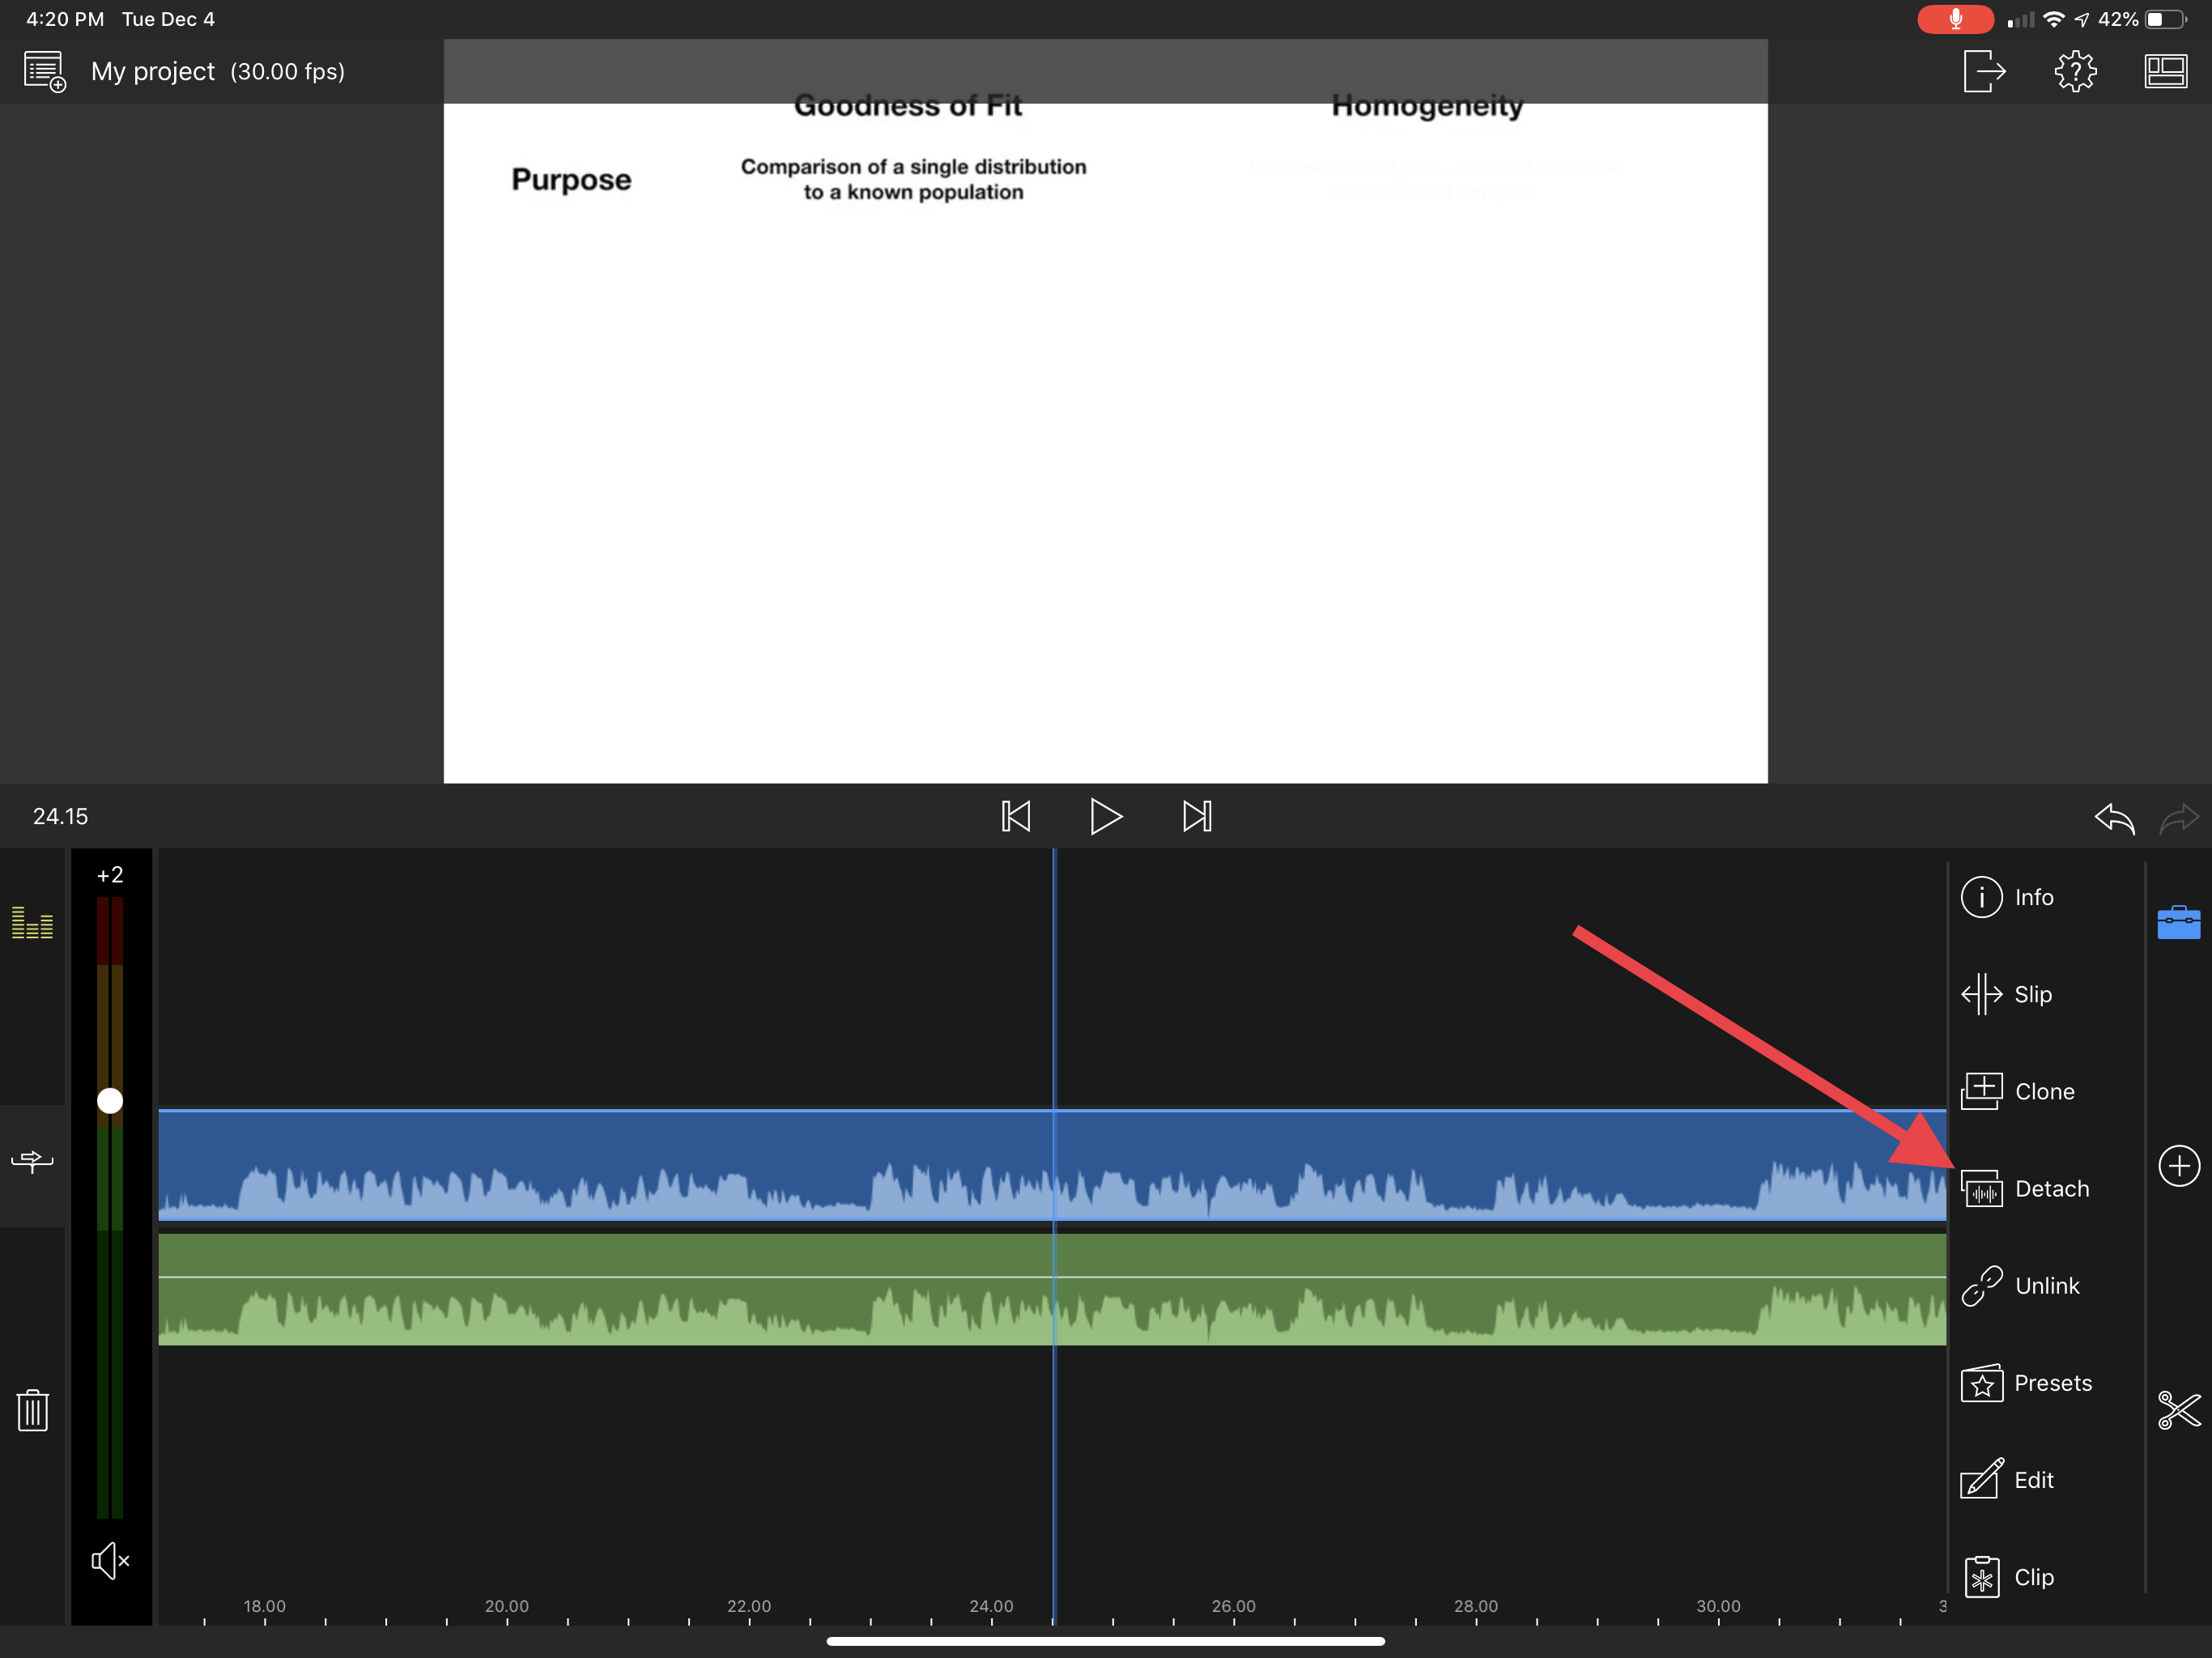
Two things worth noting about audio editing. First, iOS apps sometimes take a screen recording video and play it back with no audio at all. After a helpful exchange with the developers of Ferrite, I learned that this is because the video file actually has two tracks: whatever sounds the iPad itself produced via software, and the microphone input. Some apps simply ignore the mic input. I’ve found that using the “Detach” button in LumaFusion fixes this2:
Second, if you didn’t do any noise reduction/voice boosting before recording, you can share your video to Brusfri or Ferrite to clean up the audio, and then drop the audio file into LumaFusion alongside the video.
Uploading
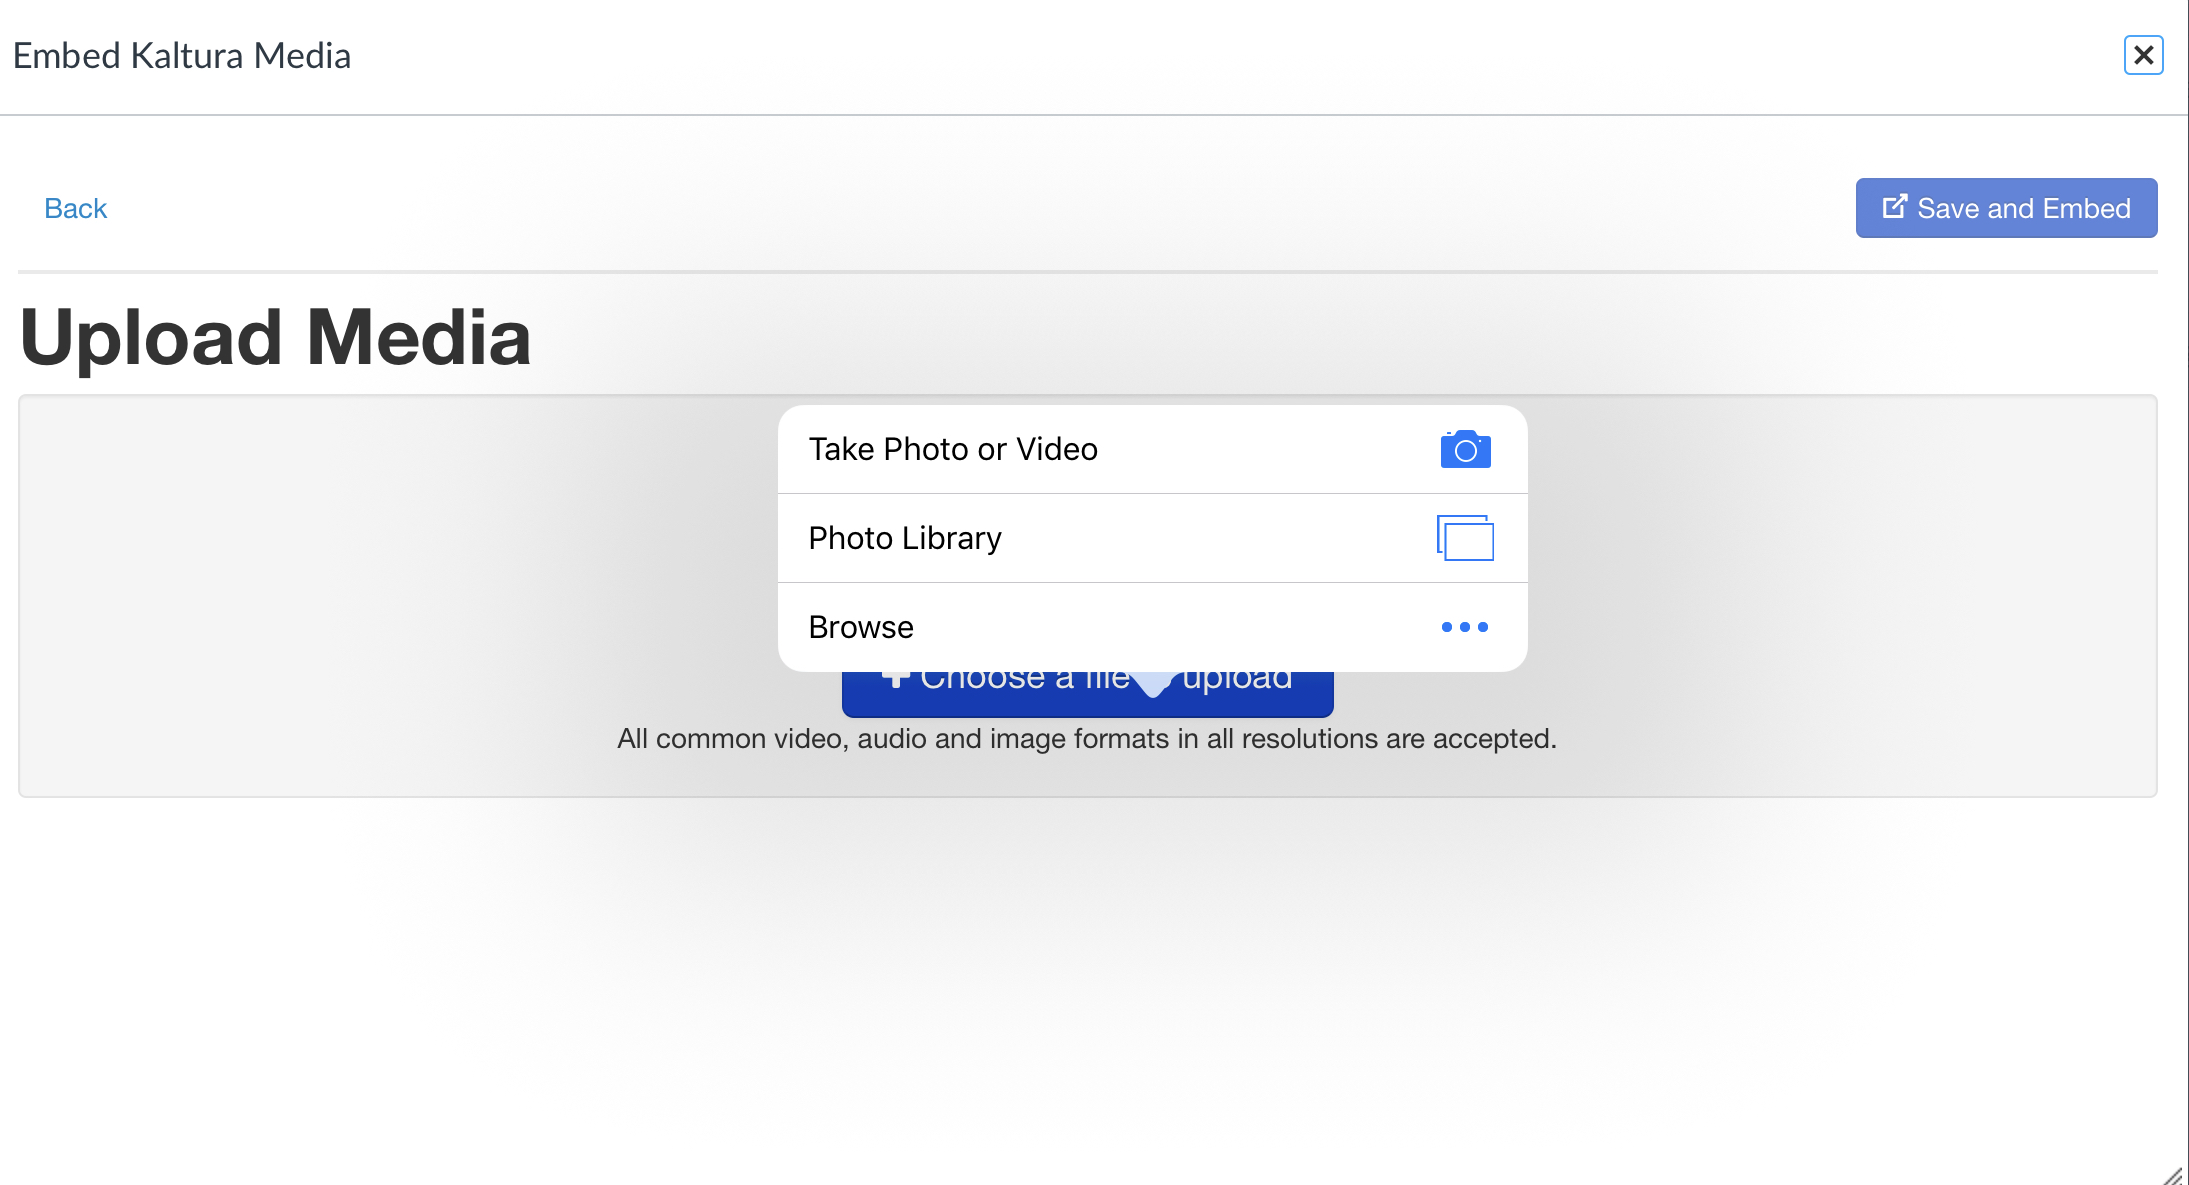
Once this is all done, you’re ready to upload. While LumaFusion integrates with many video services and services, I need an actual file to upload to Kaltura, the video hosting platform that my institution uses, so I choose iCloud Drive and save the video in the Files app. Once I go to my media uploader in Safari, I simply select that file using the Browse option (any website with a standard file uploading interface should let you choose your video file via Browse):
A fully functioning system
At this point, 100% of my needs with respect to this workflow are satisfied by my iPad. This means that I have a fully mobile recording studio, and it’s quite easy to make a high quality video in a relatively short amount of time. Hope others will find this useful and, as always, please let me know if you have questions or thoughts.