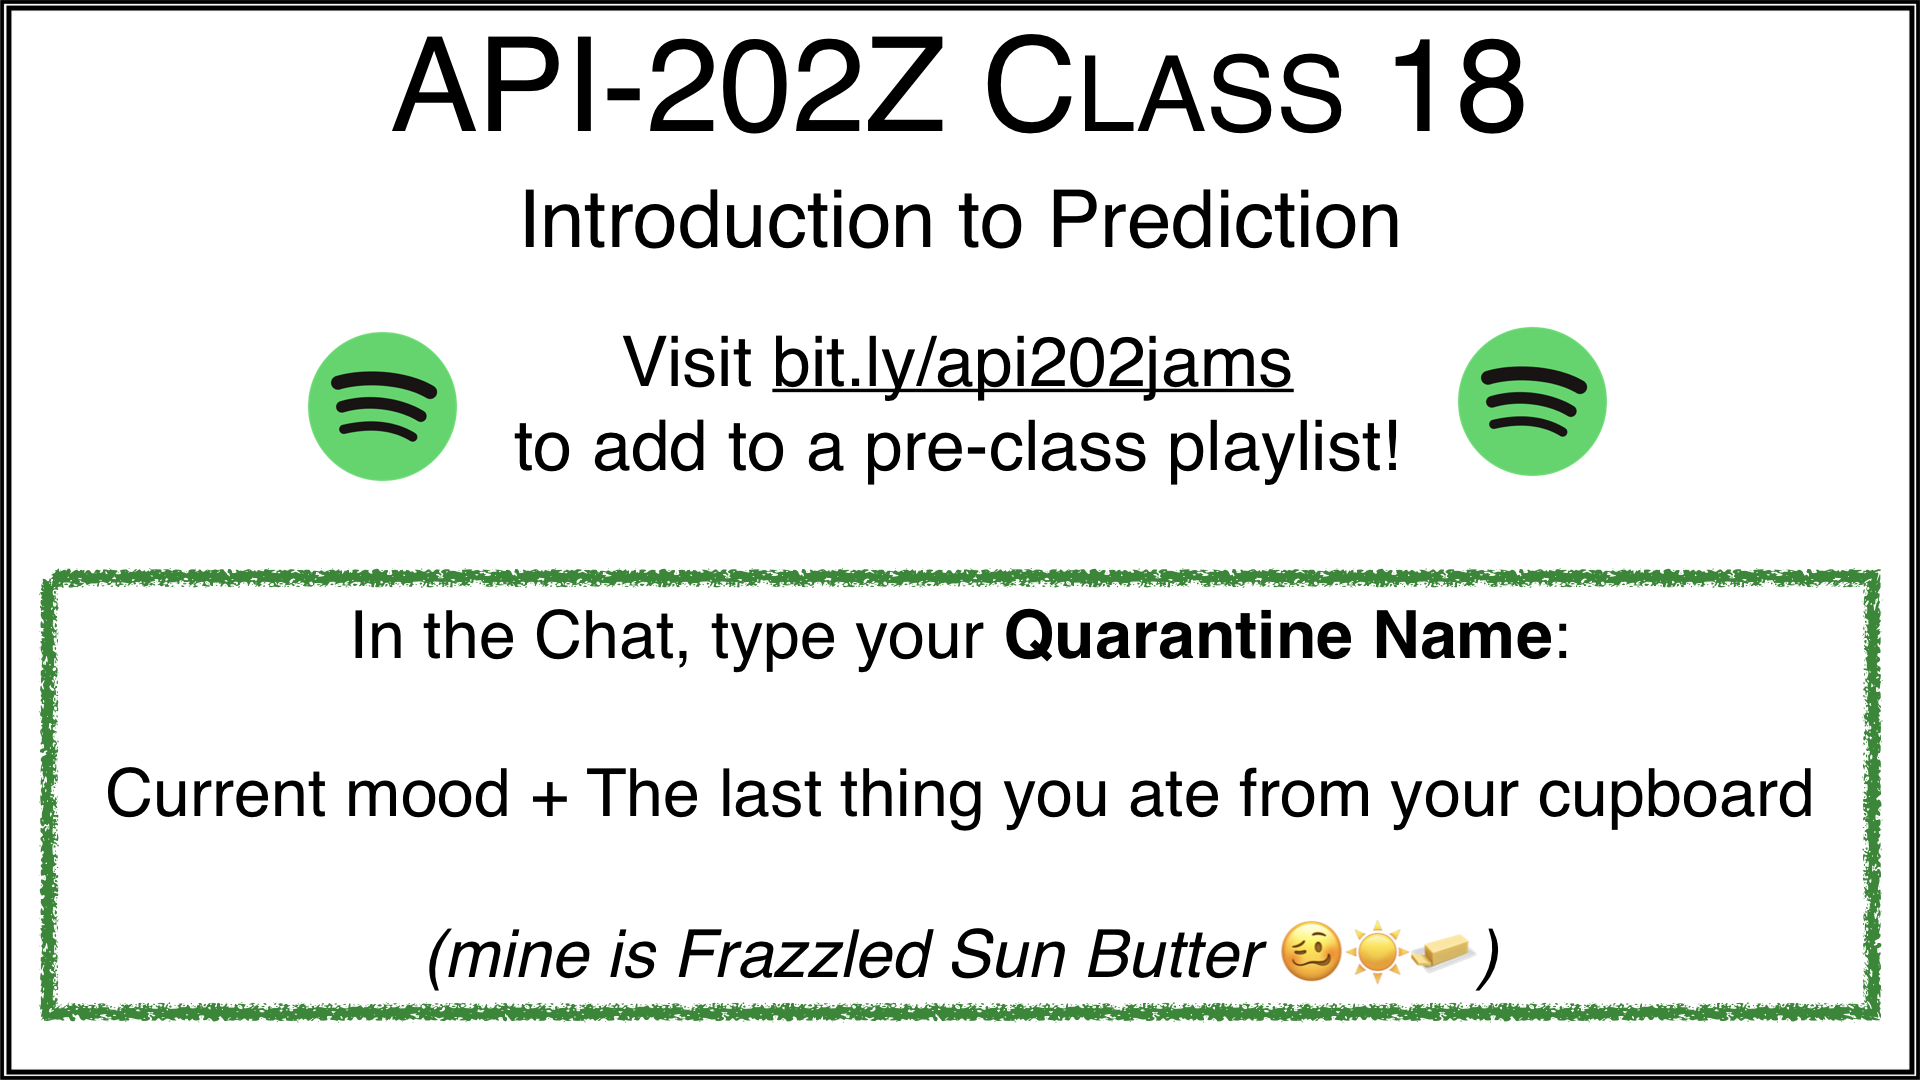
As I prepare for my course this Fall, I’m constantly worrying about how to create community. Reflecting on my teaching this past Spring and what worked, I found a low-hanging fruit in the form of playing music in the 10–15 minutes before class as people roll into Zoom. Something about this really seemed to help students get more comfortable and willing to unmute and share how they’re doing. I took this one step further in the Spring by creating a playlist that students could themselves contribute to. It’s fun to see students recognize a song playing that they themselves added, and explain why they chose that particular song. So, without further ado, here’s how to play music over Zoom, and how to create a collaborative playlist for students to add to.
Playing music over Zoom
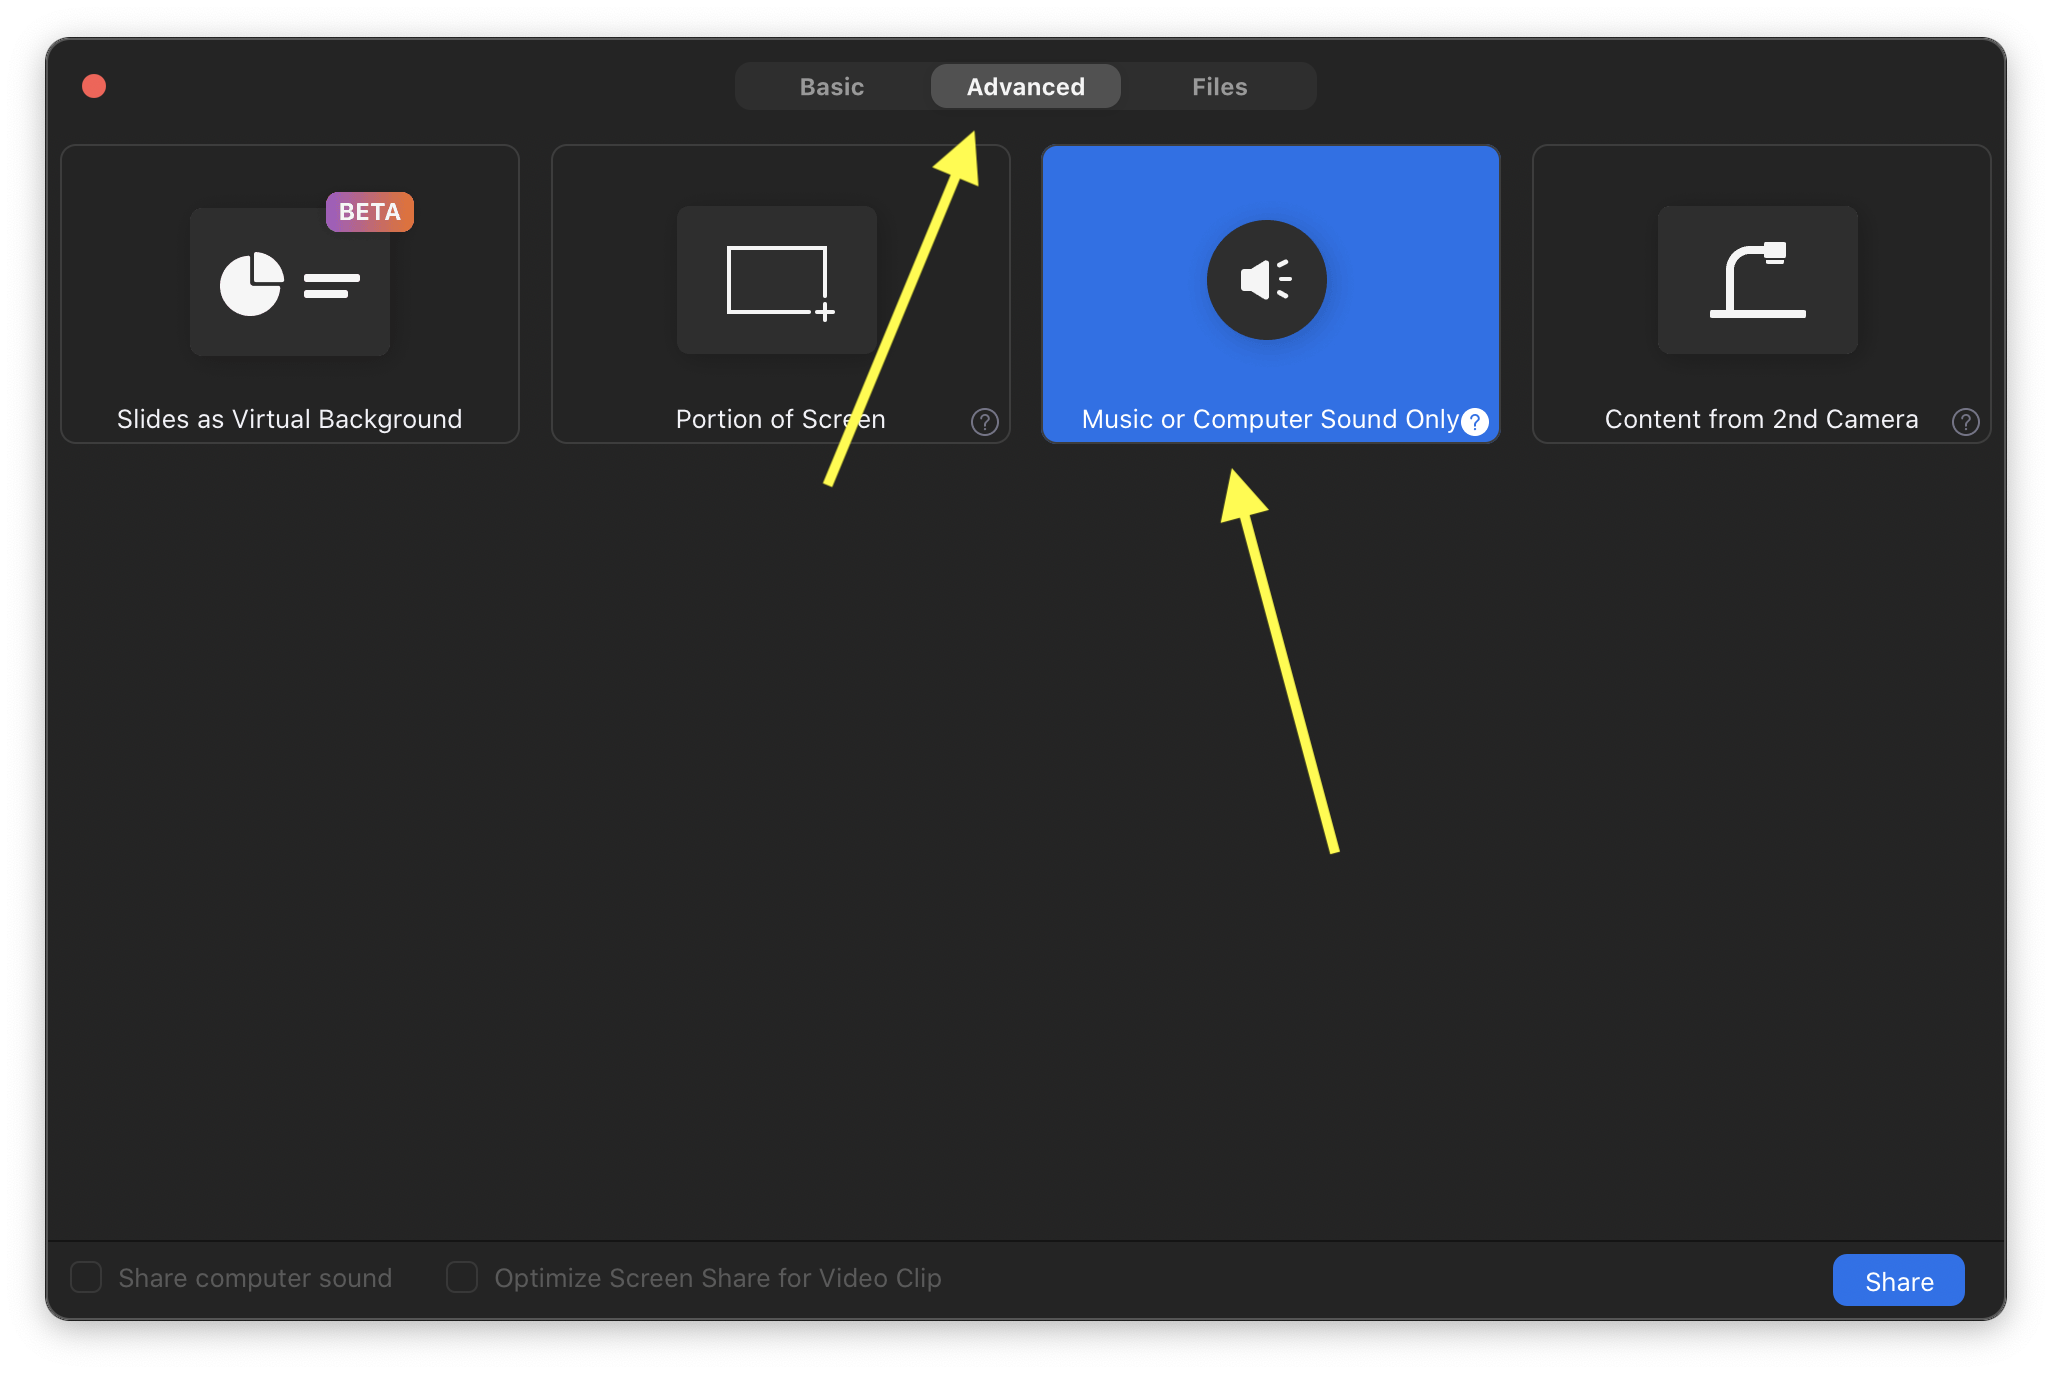
Before getting into the collaborative aspect, let’s go over how to share audio over Zoom. When sharing your screen over Zoom, there’s a checkbox on the bottom left of the screen that says “Share computer audio” - this makes it so that whatever audio your computer plays is also sent over Zoom. But it isn’t optimal to just leave a slide up for the entire 15 minute period. Sharing your screen takes over much of your students’ screens and prevents them from being able to see each other and you in the time leading up to class start. Instead, you want to share only your computer’s audio over Zoom. You can do this by clicking on “Share Screen,” clicking the “Advanced” tab, and clicking “Music or Computer Sound Only”:
Now your students aren’t seeing your screen, but they are hearing your computer’s audio. You can then switch to Spotify or Apple Music and start playing music. Important note: For some reason, music playing on my computer is played much louder on participants’ computers than it does on my own. I have no idea why this is, but what’s important is that you turn down the volume from within the Spotify/Apple Music app before you start playing:

This volume slider is different from your computer system audio - it’s within the app itself. Be sure to ask participants if they can hear your music and if it’s too loud once you start sharing.
Collaborative playlists
So now you have music playing in your class, which helps create levity and put the room at ease. But what about letting students themselves decide what music gets played? One straightforward way to do this is to simply have students submit requests in the chat that you or a member of your teaching team can queue up. If, however, you want to create more of a “living playlist” that students contribute to over the course of the semester, I suggest using a Spotify Collaborative Playlist (I wish Apple Music had this feature, but alas it does not). Here’s how you can go about setting it up:
- If you haven’t already, create a Spotify account (free or otherwise).
- From the Spotify desktop app, create an empty playlist by clicking the “New Playlist” button and name it something specific to your course.
- The playlist will now show up on the sidebar of the desktop app. Right click the playlist name and click “Collaborative Playlist” - you’ll now see a little circle next to your playlist.
- Right click on the playlist name again, and this time click on “Share > Copy Playlist Link”
- You’ll now have the playlist link in your clipboard which you can share with your students. Instruct the students to go to the link, add the playlist to their libraries, and then add songs to the playlist. Note that they’ll need a Spotify account of their own to add to it.
And you’re done! As students add to the playlist, it will update for Spotify on your computer as well. Be sure to ask students to take credit if their songs get played in class!